

If you’re looking for a reliable, efficient way to make custom apparel and gifts, the Htvront heat press machine is a smart choice. It uses controlled heat and pressure to transfer designs onto a variety of materials—perfect for T‑shirts, hats, tote bags, and even ceramic mugs. Below, you’ll learn how to use an Htvront heat press with iron‑on (HTV) vinyl to create clean, durable results.
Introduction
The Htvront heat press machine applies consistent temperature and pressure, ensuring your design bonds properly to the surface. It’s widely used for personal projects and small businesses because it delivers professional finishes with repeatable accuracy.
Before pressing, prepare the artwork you want to transfer. You can design it yourself in graphic software (vector files like SVG are ideal for clean cuts) or purchase ready‑made files. Then, cut the design from iron‑on vinyl and weed away excess material. If your design includes text or directional elements, remember to mirror it before cutting.
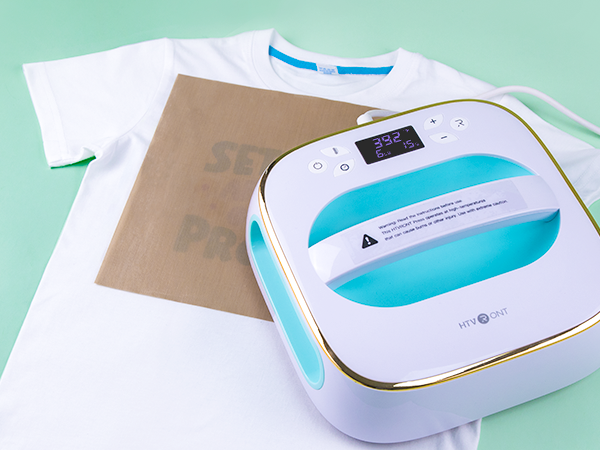
Next, prepare your blank. Pre‑wash garments without fabric softener to remove finishes that can block adhesion, and make sure the surface is dry, smooth, and lint‑free. Preheat your Htvront press to the settings recommended for your specific vinyl and material. If you’re unsure, consult your vinyl’s application guide or a trusted reference like the Cricut Heat Guide or manufacturer resources from brands such as Siser North America.
What can you make with iron‑on vinyl?
Iron‑on vinyl is versatile and beginner‑friendly. You can personalize apparel, accessories, and select hard goods. Here are a few popular projects you can make with heat transfer vinyl and an Htvront press:
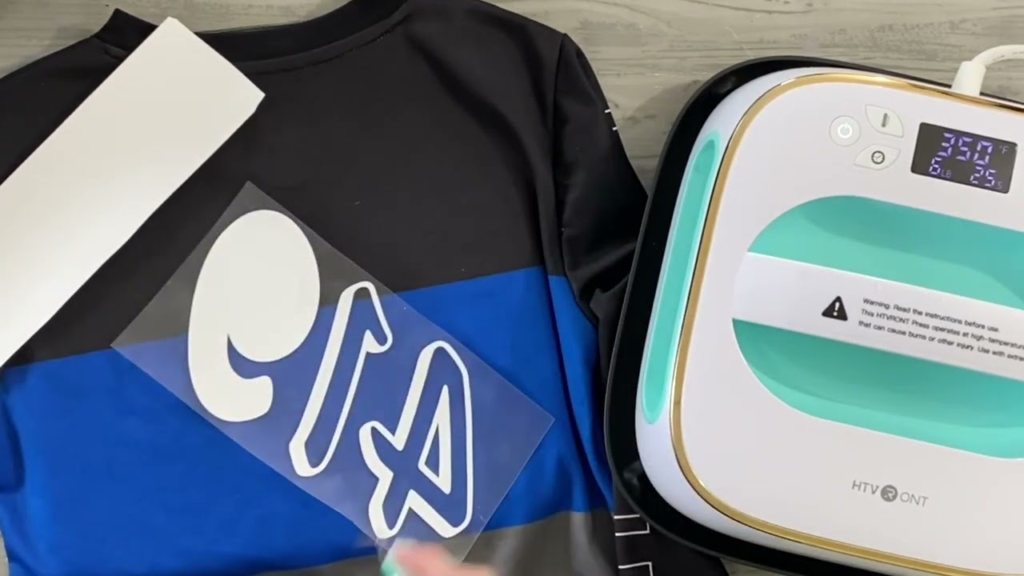
T‑shirts
To make a custom T‑shirt:
- Select a blank shirt (cotton, polyester, or blends).
- Cut and weed your mirrored vinyl design, then position it on the shirt.
- Pre‑press the shirt for a few seconds to remove moisture and wrinkles.
- Press using your Htvront machine, following the vinyl manufacturer’s time, temperature, and pressure recommendations.
- Peel the carrier sheet as directed (warm or cool peel) and, if suggested, cover with parchment or a Teflon sheet and press briefly again for a final seal.
Hats
Custom hats are highly popular for teams, events, and small brands. Choose a blank cap compatible with heat pressing. Cut your design to fit the curved surface and position it carefully. Use your Htvront heat press (or a curved attachment/mini press if available) to apply the design, following the vinyl’s specified settings. Apply firm, even pressure to the design area.
Mugs
You can add simple vinyl designs to ceramic mugs that are safe for heat pressing. Cut and position your design, then apply with an appropriate mug press or carefully with your heat press setup, following the manufacturer’s guidance for temperature and pressure. For best durability, hand‑wash only unless your material specifically states it’s dishwasher safe.
Step‑by‑step: Using your Htvront heat press
- Design and cut – Create or import your artwork (vector formats like SVG scale cleanly). Mirror your design for HTV, place vinyl shiny side down on the mat, and cut with the correct material setting.
- Weed – Remove excess vinyl so only the design remains on the carrier sheet.
- Prep the blank – Pre‑wash garments (no fabric softener), dry completely, and lint‑roll. Pre‑press for 3–5 seconds to smooth and remove moisture.
- Position – Align your design on the garment or item. Use a ruler or alignment guide for consistent spacing.
- Press – Set the Htvront press to the recommended time, temperature, and pressure for your vinyl and material. Apply steady, even pressure.
- Peel and finish – Peel the carrier as instructed (hot, warm, or cool peel). If recommended, cover and press again for a few seconds to improve wash durability.
- Care – Wait 24 hours before washing. Turn garments inside out, wash cold, and avoid bleach and high heat in the dryer to maximize longevity.
Guide users to click and purchase
Ready to get started? An Htvront heat press delivers consistent, high‑quality transfers with an easy learning curve—great for hobbyists and small businesses alike. Benefits of our machines include:
- Reliable, even heat and pressure for professional results
- Durable construction for long‑term use
- Excellent value at an affordable price point
Visit our website to explore models and bundles, compare features, and purchase the machine that fits your needs: Htvront Heat Press Machines. You’ll also find downloadable designs, application tips, and tutorials to help you press with confidence.
Conclusion
Htvront heat press machines make it simple to create polished, personalized T‑shirts, hats, and more with iron‑on vinyl. By preparing your design, choosing the right settings, and following a few best practices, you’ll get crisp transfers that last. Always follow safety guidelines, test settings on scraps when trying new materials, and keep experimenting with different designs to build your skills.
FAQs:
Can I use regular vinyl instead of iron-on vinyl with Htvront heat press machine?
No. “Regular” craft vinyl (adhesive vinyl) is not made for heat application to fabrics. For garments and other heat‑applied projects, use iron‑on/HTV specifically designed for pressing.
How long does it take to heat up the Htvront heat press machine?
Typically about 5–10 minutes, depending on the model and target temperature. Wait for the machine to indicate it has reached the set temperature before pressing.
Can I use Htvront heat press machine for commercial purposes?
Yes. Htvront machines are suitable for both personal and small commercial production. For higher volumes, consider a model with larger platens or advanced controls.
How do I clean my Htvront heat press machine?
Unplug and allow the press to cool completely. Wipe the exterior and platen with a soft, slightly damp cloth and dry thoroughly. Avoid harsh chemicals and do not scratch the platen surface.
Can I use Htvront heat press machine to make designs on other materials besides fabric?
Yes—provided the material can withstand the required heat and pressure. Many users decorate items like ceramic mugs, wood, and certain coated metals. Always confirm material compatibility and use appropriate accessories (e.g., a mug press) when needed.